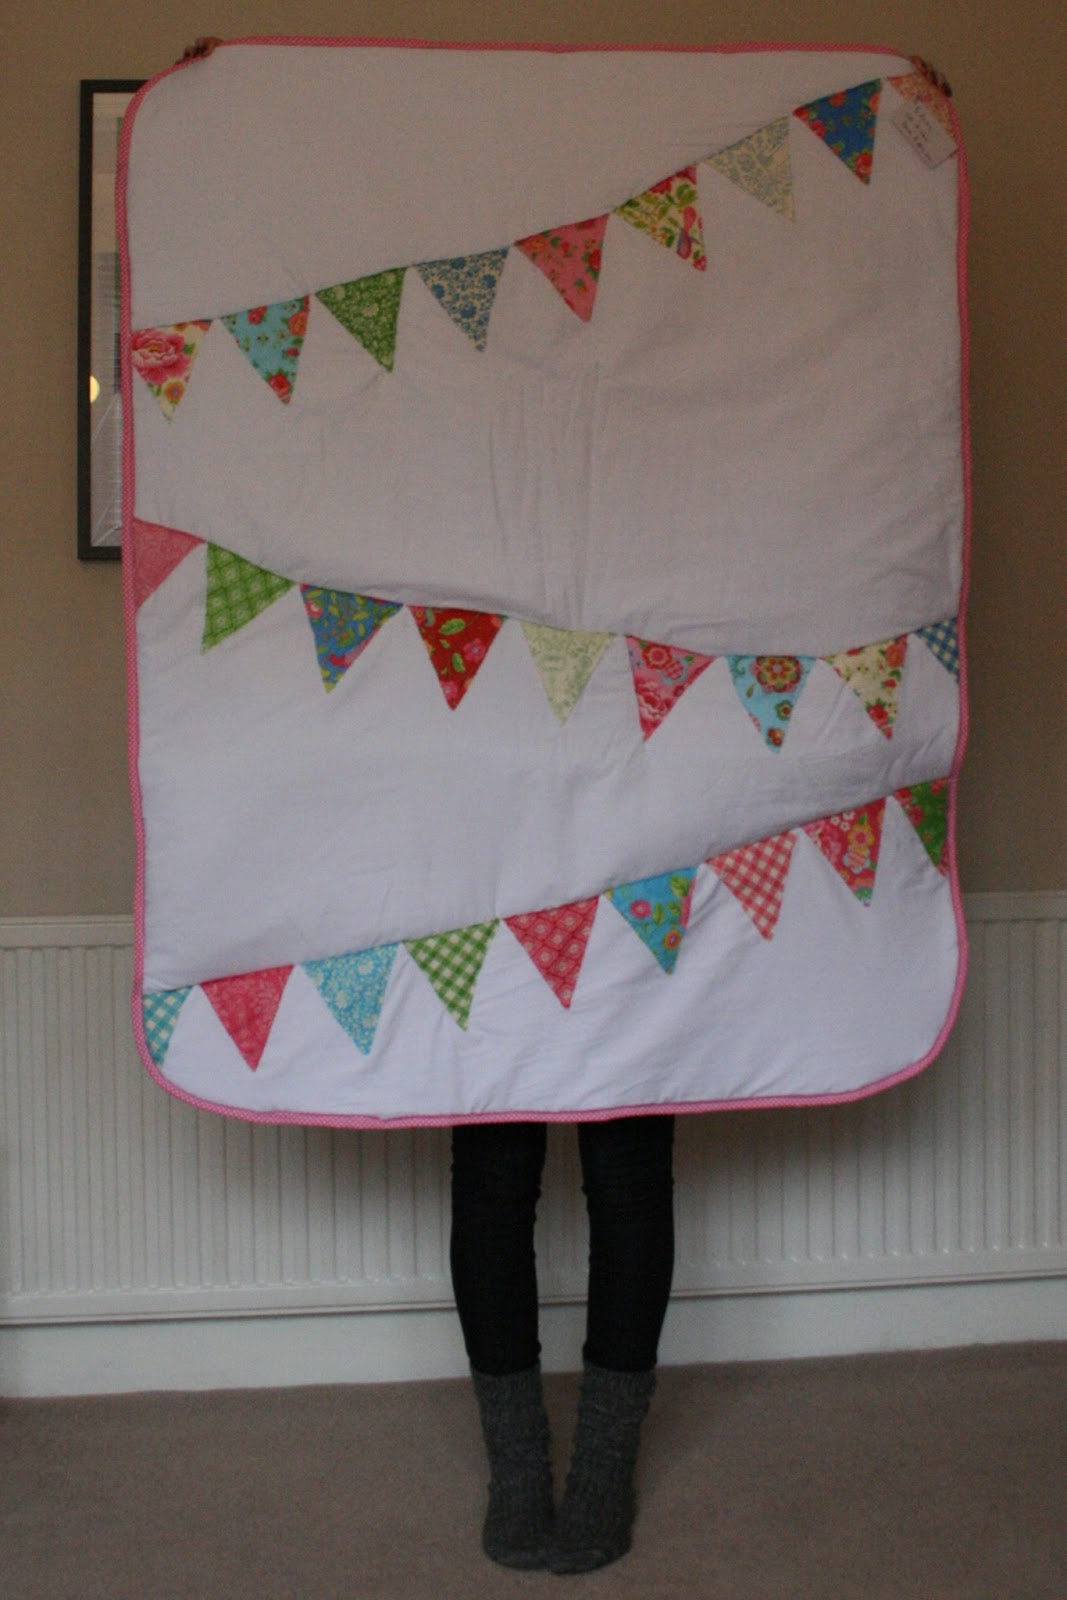
I started making this quilt for Sam whilst she was prego with her beautiful little girl. She is now 14 months old. The quilt is on it’s third attempt. But finally I have a finished article, and I am so happy with it – I honestly love the contrast with the polka dots, the bunting and the backing fabric. I think I might love that ABC fabric more than I should. And as I have finally given it to Sam, I can blog it.
I came across the idea of a bunting quilt on Pinterest and fell in love. I mean, what’s not to love? And knew that it would be the perfect gift for a little girl, unfortunately my skills (when I started, and maybe even now) and my equipment were not in line with my ambition. My old sewing machine hated me for trying to make it, and it just didn’t go right. But last month, armed with my new sewing machine I decided to start again.
Once again I forgot to photograph as I went but it wasn’t a complicated process.
Here’s what I used;
27 Squares of the Moda Gypsy Girl charm pack cut to triangles (I cut 30 but my spacing meant I only used 27)
1 meter of Thick white cotton
1 meter ABC print cotton
Wadding to fit the quilt – whatever thickness you fancy
4meters of polka dot extra wide binding tape.
(I haven’t used proper quilt measurements – I just used the size of the fabric as a guide!)
- I cut the charm pack into triangles – I folded a square in half, put a pen mark in the middle and drew a line to outside corners to make a triangle – I then cut it with pinking shears. Once I had the bunting cut I arranged it in arcs on the white fabric and pinned it into place.
- I sewed on all the triangles – just on the ‘sides’ and left the ‘top’ – this was the time consuming part.
- I sandwiched a medium weight filling between the top sheep, with the bunting on and the ABC fabric and pinned like mad! 100’s of pins, just to stop anything moving and bunching up (again – this was learnt from experience at a previous attempt)
- I then sewed through all the layers the top line of the bunting. And I picked out occasional triangles to re-sew through all the layers. Maybe if I had more patience I would have done them all again, but I’ll be honest – I don’t!
- Now came the bit that’s tricked me. I need to do much more reading about binding. Loads more. Maybe every blog post/book written. But I pinned the binding tape around the quilt. Again, I used all the pins in the world in the hope nothing slipped. My binding was 30mm wide, which made this so much easier than in previous attempts, but there were some rogue bits that escaped and meant I had to go back round.
- I added in little pink ribbon loops for future fort building when I was sewing the binding – I did this when I made a quilt for Liz, and I know her son’s used them!


So, there you go, a pretty bunting quilt. It probably took me about 5 hours in all, from cutting to sewing to binding, and I had to do that bit twice 😉
Hey!
Love to have found your blog 😀
i am 4 months pregnant and I am tinkering with craft on my blog @ bundana.blogspot.co.uk, I'd love you to have a look!
Anyways, thanks for this… I am thinking I am having a boy, but it's exactly what I was looking for!
Thanks
Bundana xxx
You could make this boy-ish – just use some darker and none flowery fabrics. It would be easy I reckon!
Love the blog btw. x
I absolutely love this quilt. My niece saw it on pinterest and asked me to make it. I read your blog and it was so very helpful… Thank you so much for taking the time to tell us about it.