A couple of our friends have just moved into a new flat in a new city and I wanted to send a little house warming present to make it feel a little bit more like home. Zoe and Jordan have spent the last couple of years living the dream, they spent two winters snowboarding in France and the summer in between travelling.
Knowing they’ll be missing the mountains this season, I thought that I’d try and send them something to help them through the long dark welsh winter. Enter the ‘Mountain Cushion’. Now I’ve seen mountain cushions a lot of Etsy, but they were all in America, and do you know the cost of shipping from America? Plus it looked like something I could totally make myself.
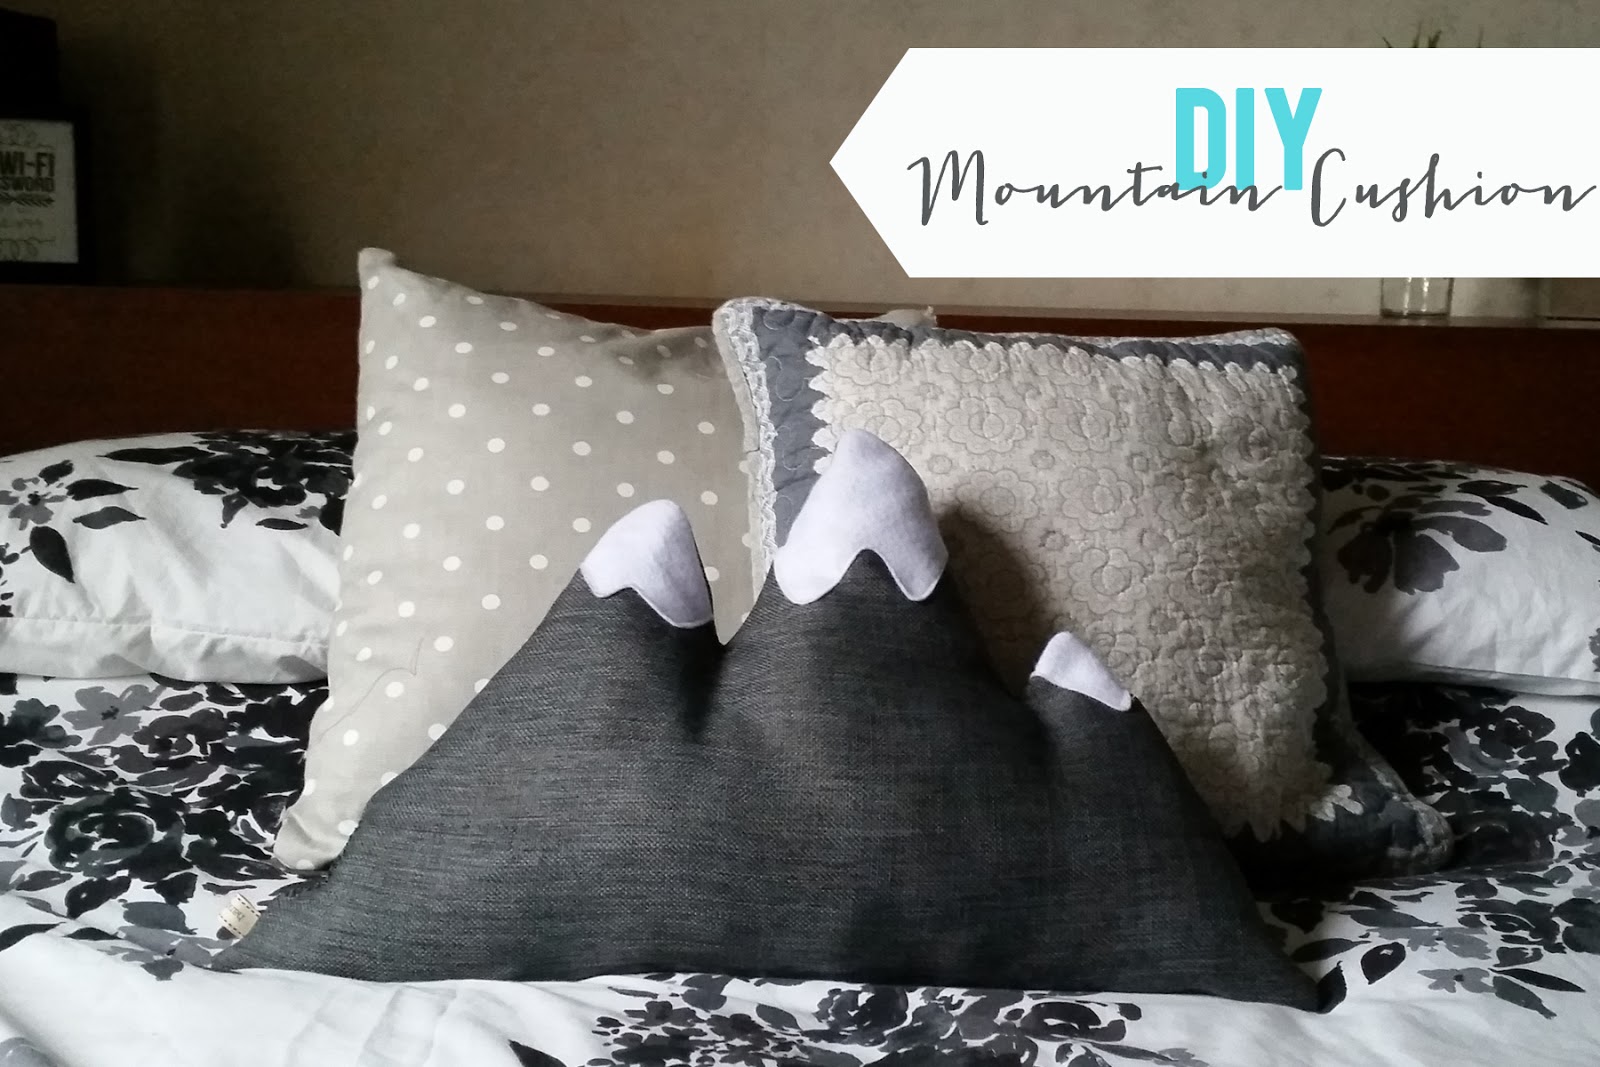
And if you fancy making one yourself, here’s how;
What I used;
- Fabric for the base of your mountain. I bought my ‘mountain fabric’ from John Lewis, it’s actually blackout curtain material, but I liked it so got it anyway. How much you use depends on how big you want your mountain to be. Mine was a piece 120 x 40cm folded in half to 60 x 40cm.
- White felt for the snow.
- Cotton.
- Sewing machine (or some patience).
- Cushion padding.

What to do;
- Take your piece of fabric and fold it in half, right sides together.
- With the fold at the bottom, draw on your mountain range. I did 3 peaks, you could do as many or as few as you like to fill your fabric. I drew the ‘snow’ on too to make it easier for myself to see if they would look right.
- I pinned round it the shape and cut it out with a one inch seam allowance.
- Next I took the white felt ‘snow’ and pinned it on top of the mountains – right side – and cut out my snow. This didn’t exactly follow my original snow shape but I did what I felt would work best.
- Then I sewed the bottom edge of the snow on to the right side of the mountain. I only added snow to one side of the mountain as I was worried about it matching up.
- I turned the mountains right side together again and started sewing along my lines. As the fabric was folded in half the sewn edges were just the mountain peaks and sides – this I think helped it stand a bit nicer too! Make sure you leave a smallish gap in the seam so that you can turn your cushion the right way round.
- Trim the excess fabric from the seams. I found I had to cut right down to the edge of the sewing where the bottoms of the peaks were to make it look right once it was turned right sides out.

– Stuff with cushion filling. I used a long ruler to make sure the filling was in the peaks evenly.
– Sew up the gap and plump your cushion.
– Enjoy.
The whole process probably took me couple of hours, but that was with gaps in between to play with Flash!
And here is the photo I’ve stolen from Twitter of it in their new place. What do you think? Will mountains be gracing your sofa this winter?

This is brilliant Em and could possibly save me a fortune on buying a mountain cushion I spotted. 😉 x
Dude I LOVE it! You clever little sausage. I'll take two, yes?
M x
That looks fantastic! Nothing beats a home made gift for sure.
I love this. And I need a project to get me using my sewing machine again. This might be the one.
Just two. I'll do you 4 just to be sure! K? X
Yup. My thoughts exactly. Not sure everyone feels the same though. X
Yes yes yes. Bust out the machine. Do it. Then show me the results please. X
I love this!! Such a creative idea and really cute!
Saskia / girlinbrogues.com
That's great! Very impressed. 😀 And homemade gifts really are the best.
Thank you so much. I've still not made one for myself! I need to get on that!
I'm a big fan of the home made gift. Next up is planning my Christmas making. But what to start with?